Predict for Jira - User Guide
By Project Science Ltd
Predict for Jira
User Guide
Dated: 21 April 2024
This is the User Guide for Project Science - Predict for Jira.
Pre-Requisites
- To install and use Predict for Jira you will need a cloud instance of Jira, one or more ’next gen’ projects, and for story point predictive analytics, to ensure that all projects use and populate the Story Point Estimate field (not the ‘Story points’ field which we understand is being phased out by Atlassian Jira).
- We suggest waiting until your project has about 25 tickets before you use the Predict app.
Installation
- To install the App into your Jira cloud instance, follow the instructions on the Atlassian Marketplace.
Configuration
- By default Predict for Jira will not display any predictive analytics unless a group ‘predictive-analytics’ exists, and the user is a member of that group.
- Ask your site administrator to add the user to the’predictive-analytics’ group using Atlassian documentation, currently available here https://support.atlassian.com/user-management/docs/manage-groups/
- Once the group has been created, ask your site adminstrator to add you to the ‘predictive-analytics’ group. The following steps may help the adminstrator complete this.
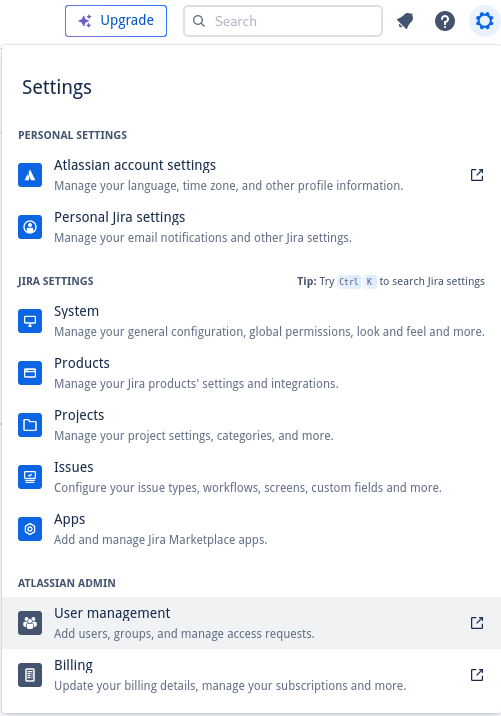
- Click the cog on the top right and navigate to the Settings page, and choose User management:
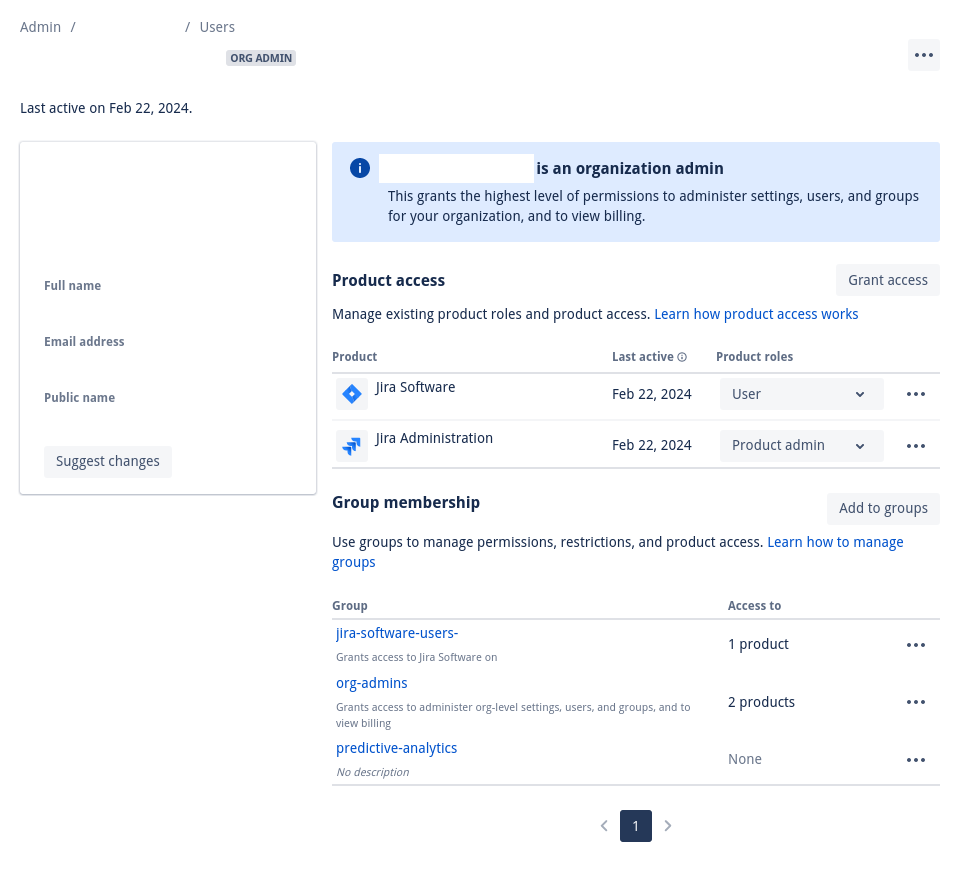
- Identify the user and click on the action ‘Show details’:

- Click on the group ‘predictive-analytics’
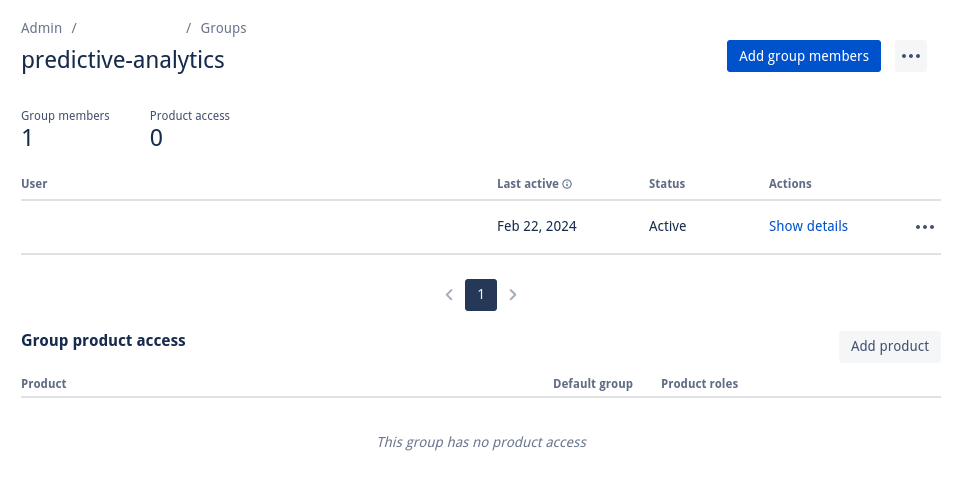
- Click ‘Add group members’ to add members to the predictive-analytics group:
Operation
- Navigate to your chosen Jira issue
- Find the issue panel that contains your issue summary, description and other fields of interest.
- Click on the button at the top of the panel marked ‘Predict for Jira’ with the purple spiral icon

- The App will then run, perform the analytics, and provide its output in the Issue panel.
Support
- Support, including new feature requests, is available from Project Science App Support